How To Videos & Doc’s: Bronica ETRUpdated 6 months ago
Here is how to Make the Aperture work on a Bronica ETR Lens.
See the 6 Steps Below;
1) Naturally, when the shutter is cocked, the aperture will not stay at the value you need without the depth of field preview button.
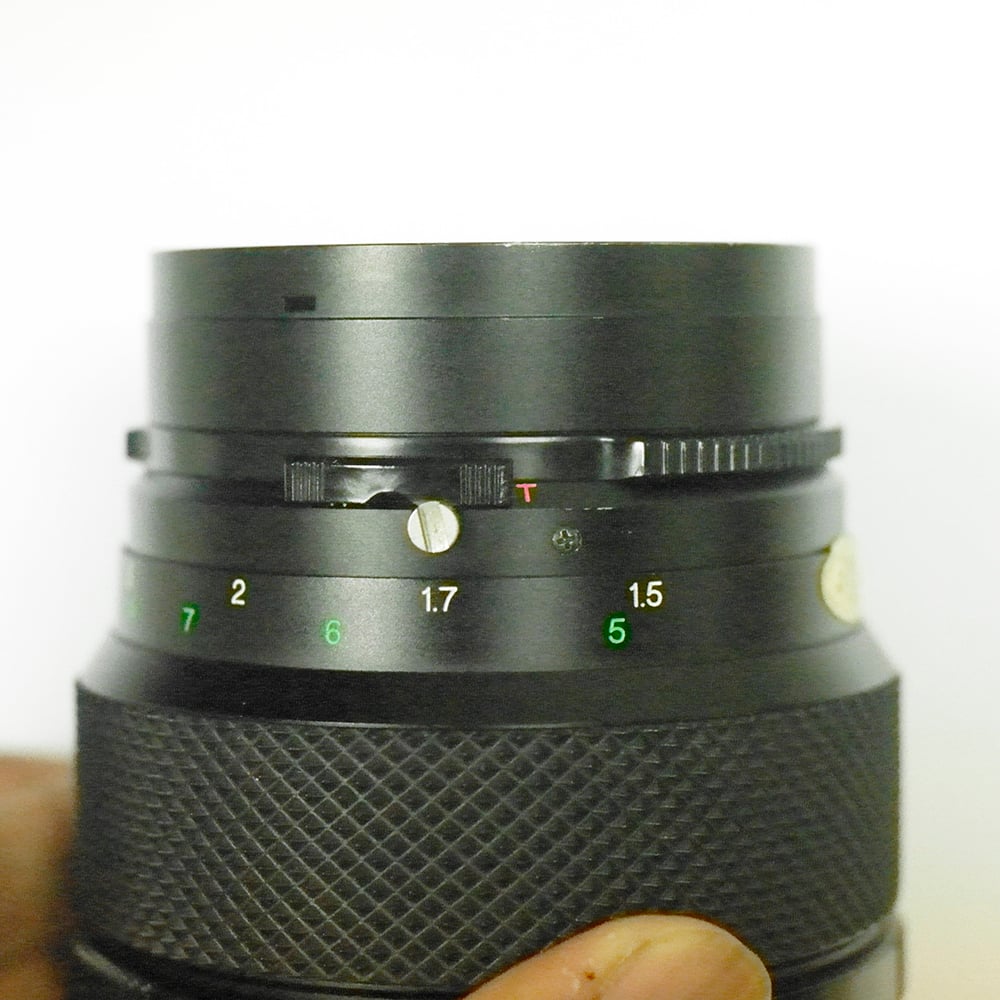
2) First, make sure that this tab is set to T, rather than A. (See Blow)
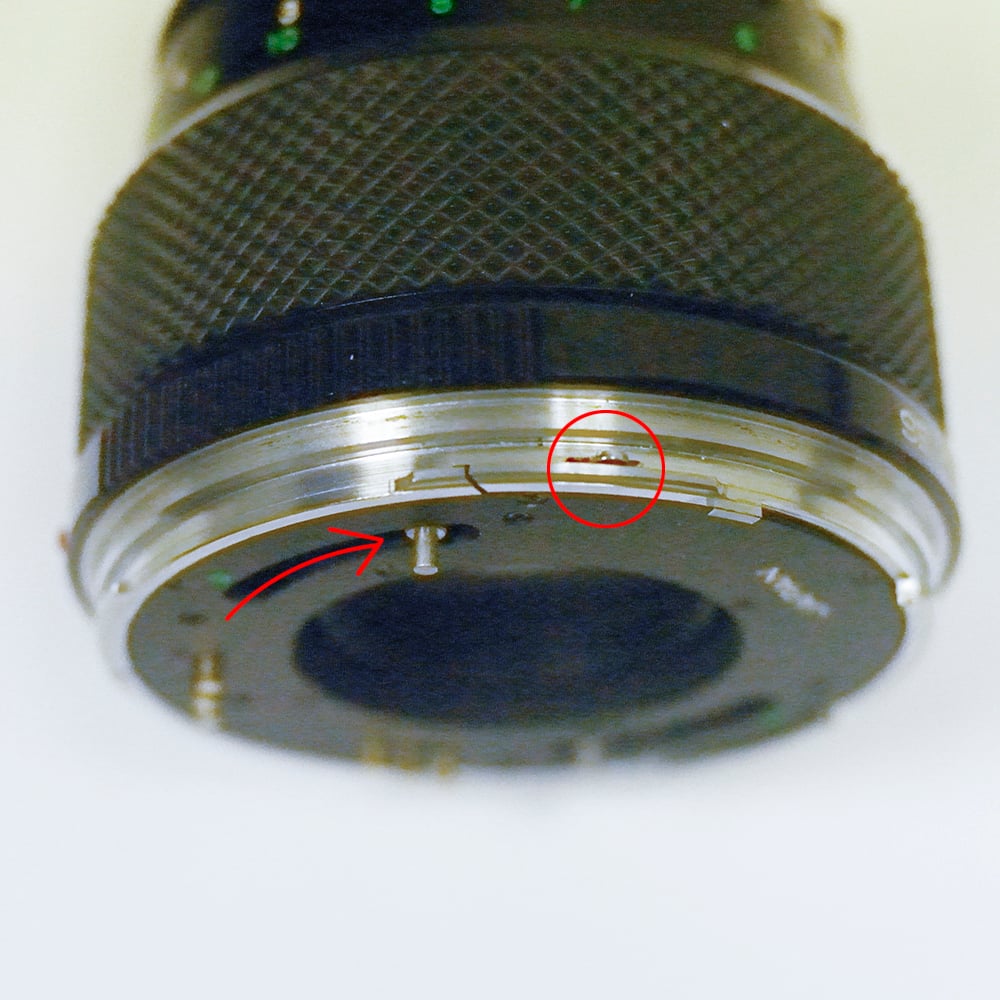
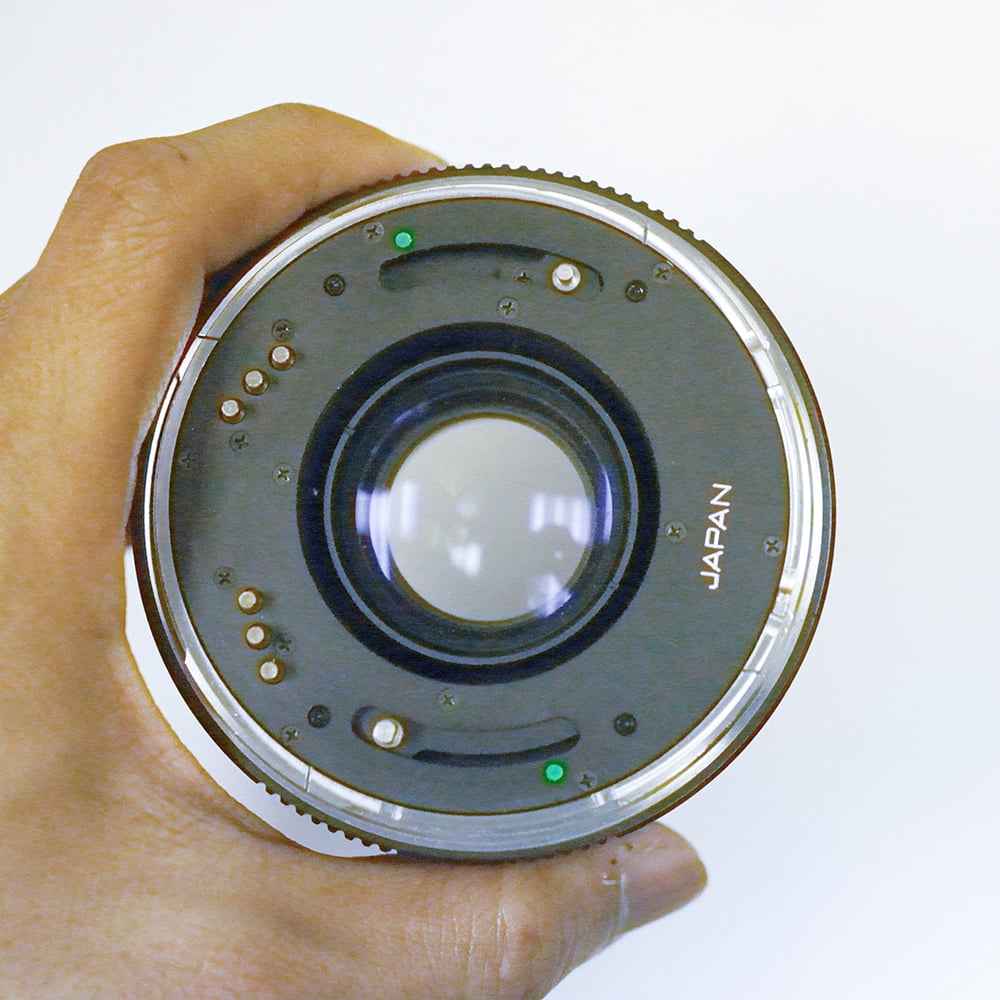
3) Look at the back of the lens, locating the shutter pin(s), placing the contacts at the 3 o’clock position:
If the pins are on the 1 o’clock and 7 o’clock positions, and the aperture is adjusting without the depth of field preview button being held, aperture control should be enabled and no further instructions should be required
If the pins are on the 1 o’clock and 7 o’clock positions and aperture is not adjusting as you turn the aperture ring, continue on to step 4.
If the pins are on the 11 o’clock and 5 o’clock positions, go straight to step 5.

4) Move the pins counterclockwise in their respective slots (they should move in unison).